Cheesecake Stuffed Apples: A Delicious Twist on a Classic Dessert
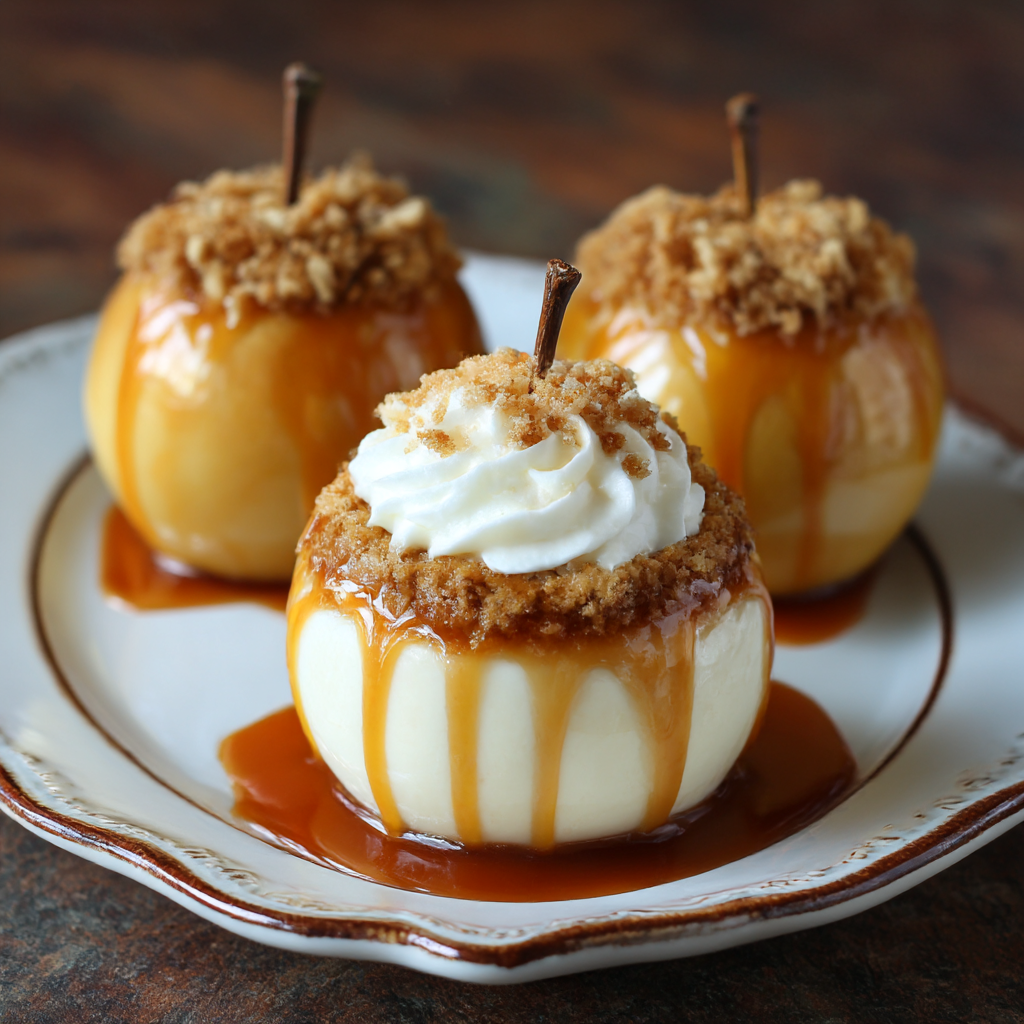
Enjoy a cozy dessert with these Cheesecake Stuffed Apples: A Delicious Twist on a Classic Dessert. This delightful treat combines the sweetness of baked apples with a creamy cheesecake filling, making it perfect for celebrations or a simple family dinner. With its warm flavors and appealing presentation, this dessert will surely impress your guests.
Why You’ll Love This Recipe
- Easy to Prepare – This recipe requires minimal prep time, allowing you to whip up a delicious dessert without spending hours in the kitchen.
- Delicious Flavor Combination – The contrast of sweet apples and rich cheesecake creates an unforgettable flavor experience.
- Versatile Dessert – Perfect for any occasion, from holiday gatherings to weeknight dinners, this dish is sure to please everyone.
- Customizable – Feel free to add your favorite nuts or spices to personalize the flavor profile according to your taste.
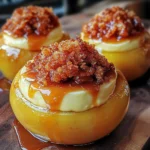
- Beautiful Presentation – The stuffed apples look stunning on any dessert table, making them a showstopper at parties.
Tools and Preparation
To make the Cheesecake Stuffed Apples, you’ll need some essential tools. Having the right equipment will make the cooking process smoother and more enjoyable.
Essential Tools and Equipment
- Mixing bowl
- Electric mixer
- Baking dish
- Spoon or piping bag
- Aluminum foil
Importance of Each Tool
- Mixing bowl – A large bowl is essential for easily mixing all the ingredients together without making a mess.
- Electric mixer – Using an electric mixer saves time and ensures that your cheesecake mixture is smooth and creamy.
- Baking dish – A sturdy baking dish helps hold the apples upright while they bake evenly.
- Spoon or piping bag – These tools make it easy to fill the apples with your creamy cheesecake mixture.
Ingredients
Enjoy a cozy dessert with these Cheesecake Stuffed Apples, featuring tender baked apples filled with a creamy cheesecake mixture and drizzled with caramel sauce. Perfect for any occasion!
For the Apples
- 4 medium-sized apples (Granny Smith or Honeycrisp)
- 1 tbsp lemon juice (to prevent browning of apples)
For the Cheesecake Filling
- 8 oz cream cheese, softened
- 1/2 cup granulated sugar
- 1/4 cup brown sugar
- 1 tsp vanilla extract
- 1/2 tsp ground cinnamon
- 1/4 tsp salt
- 1/2 cup sour cream
- 1/2 cup crushed graham crackers
- 1/4 cup chopped nuts (optional, walnuts or pecans)
For Topping
- 1/4 cup caramel sauce (for drizzling)
How to Make Cheesecake Stuffed Apples: A Delicious Twist on a Classic Dessert
Step 1: Preheat the Oven
Preheat your oven to 350°F (175°C). This ensures that it reaches the right temperature for baking your stuffed apples.
Step 2: Prepare the Apples
- Wash the apples thoroughly under cold water and pat them dry.
- Carefully remove the core from each apple, leaving the bottom intact to create a cavity.
- Drizzle a little lemon juice inside each apple to prevent browning.
Step 3: Make the Cheesecake Filling
- In a large mixing bowl, combine the softened cream cheese and granulated sugar. Beat on medium speed until smooth and creamy (about 2-3 minutes).
- Add in the brown sugar, vanilla extract, ground cinnamon, and salt. Mix until well incorporated.
- Stir in the sour cream until fully combined.
- Fold in crushed graham crackers and chopped nuts (if using) with a spatula.
Step 4: Fill and Bake the Apples
- Fill each apple with the cheesecake mixture using a spoon or piping bag, packing it gently but firmly.
- Place the filled apples upright in a baking dish. Spoon any leftover filling around them.
- Cover the baking dish with aluminum foil.
Step 5: Bake to Perfection
- Bake in the preheated oven for 25-30 minutes until apples are tender but not mushy.
- Remove foil and bake for an additional 10-15 minutes to brown tops slightly.
Step 6: Serve Your Dessert
Let the apples cool for about 10 minutes before serving. Drizzle with caramel sauce and sprinkle with extra cinnamon if desired. Enjoy warm with vanilla ice cream or whipped cream for an added treat!
Feel free to store any leftovers in an airtight container in the refrigerator after they have cooled completely.
How to Serve Cheesecake Stuffed Apples: A Delicious Twist on a Classic Dessert
Serving Cheesecake Stuffed Apples can be a delightful experience that elevates this cozy dessert. Here are some creative ways to present and enjoy this sweet treat.
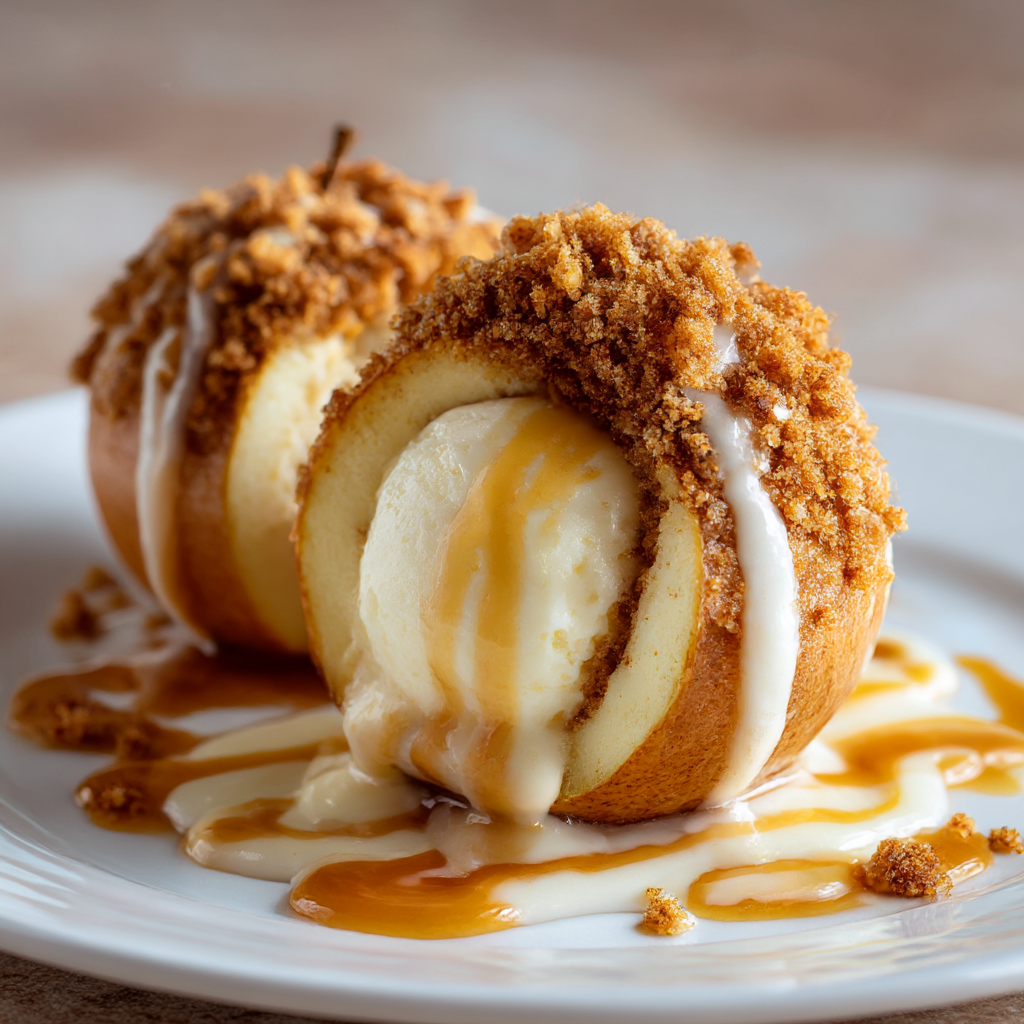
Warm with Ice Cream
- Serve the baked apples warm alongside a scoop of vanilla ice cream for a delicious contrast of temperatures and textures.
Drizzled with Caramel
- Enhance the sweetness by drizzling extra caramel sauce over the top just before serving, adding an indulgent touch.
Topped with Whipped Cream
- Add a dollop of whipped cream on top for a light and fluffy complement to the rich cheesecake filling.
Garnished with Nuts
- Sprinkle additional chopped nuts on top for added crunch and flavor, making each bite more exciting.
Served in Individual Bowls
- For an elegant presentation, place each stuffed apple in its own bowl with some of the baking juices, allowing guests to savor every drop.
How to Perfect Cheesecake Stuffed Apples: A Delicious Twist on a Classic Dessert
Perfecting Cheesecake Stuffed Apples is all about attention to detail and technique. Here are some tips to ensure your dessert turns out fantastic every time.
- Choose the Right Apples: Use firm apples like Granny Smith or Honeycrisp that hold their shape well during baking.
- Avoid Overmixing: When combining ingredients, mix just until blended. Overmixing can lead to a dense filling.
- Adjust Sweetness: Taste the cheesecake mixture before filling. You can adjust sugar levels based on your preference for sweetness.
- Monitor Baking Time: Keep an eye on your apples; they should be tender yet firm. Test doneness with a fork.
- Let Cool Before Serving: Allow the apples to cool slightly before serving to enhance flavors and make them easier to handle.
- Experiment with Flavors: Feel free to add spices or citrus zest to the filling for unique flavor combinations tailored to your taste.
Best Side Dishes for Cheesecake Stuffed Apples: A Delicious Twist on a Classic Dessert
Pairing side dishes with Cheesecake Stuffed Apples can enhance your dining experience. Here are some excellent options:
- Vanilla Ice Cream – A classic pairing that adds creaminess and balances the sweetness of the apples.
- Caramel Sauce – Serve extra caramel sauce warm as a dipping option for those who crave more sweetness.
- Cinnamon Sugar Pretzels – These offer a crunchy texture that contrasts nicely with soft apples while echoing their flavor profile.
- Fruit Salad – A refreshing fruit salad can lighten up the meal and provide additional fruity notes.
- Chocolate Sauce – For chocolate lovers, adding chocolate sauce can create a deliciously decadent experience.
- Nutty Granola – Crunchy granola brings texture and complements the creamy filling beautifully, perfect for breakfast or brunch settings.
- Spiced Tea – Serve with warm spiced tea for a cozy beverage option that harmonizes with the dish’s flavors.
- Cheese Platter – A selection of cheeses can provide savory balance, offering guests diverse flavor experiences alongside dessert.
Common Mistakes to Avoid
When making Cheesecake Stuffed Apples, it’s easy to overlook a few key steps. Here are some common mistakes to avoid for the best results.
- Using the wrong type of apples – Not all apples are suitable for baking. Choose firmer varieties like Granny Smith or Honeycrisp for the best texture and flavor.
- Skipping the lemon juice – Failing to add lemon juice can lead to browning. Drizzle a little inside each apple cavity to keep them fresh and vibrant.
- Overmixing the cheesecake filling – Overmixing can lead to a dense filling. Mix just until combined for a light and creamy texture.
- Not packing the filling properly – If you don’t pack the filling tightly, it may spill out during baking. Use a spoon or piping bag to fill each apple gently but firmly.
- Ignoring baking times – Baking too long can make apples mushy. Keep an eye on them in the oven and start checking for tenderness at 25 minutes.
Storage & Reheating Instructions
Refrigerator Storage
- Store in an airtight container.
- Keep in the fridge for up to 3 days.
Freezing Cheesecake Stuffed Apples: A Delicious Twist on a Classic Dessert
- Wrap each apple individually in plastic wrap.
- Place them in a freezer-safe container or bag.
- Freeze for up to 2 months.
Reheating Cheesecake Stuffed Apples: A Delicious Twist on a Classic Dessert
- Oven – Preheat to 350°F (175°C) and bake for about 10-15 minutes until warmed through.
- Microwave – Heat one apple at a time in 30-second intervals until warm.
- Stovetop – Place apples in a skillet with a splash of water, cover, and heat over low until warmed through.
Frequently Asked Questions
Curious about Cheesecake Stuffed Apples? Here are some frequently asked questions.
What variations can I make with Cheesecake Stuffed Apples?
You can customize your filling by adding chocolate chips, different spices, or swapping nuts for dried fruits like cranberries or raisins.
How do I prevent my apples from getting mushy?
Check your apples after 25 minutes of baking. Remove from the oven when they’re tender but still hold their shape.
Can I use dairy-free cream cheese?
Absolutely! Dairy-free cream cheese works well as an alternative, making this dessert accessible for those avoiding dairy.
How should I serve Cheesecake Stuffed Apples?
Serve warm with caramel sauce drizzled on top. Pair it with vanilla ice cream or whipped cream for extra indulgence.
Final Thoughts
Cheesecake Stuffed Apples offer a delightful twist on traditional desserts. Their cozy flavors and versatility make them perfect for any occasion. Feel free to customize with your favorite ingredients!
Cheesecake Stuffed Apples
Indulge in the warmth and comfort of Cheesecake Stuffed Apples, a delightful twist on a classic dessert. These tender baked apples are filled with a creamy cheesecake filling that perfectly balances sweetness and richness, making them an irresistible treat for any occasion. Whether you’re celebrating a holiday or hosting a simple family dinner, this dessert will impress your guests with its beautiful presentation and unforgettable flavor combination. Serve warm drizzled with caramel sauce for an extra touch of indulgence!
- Prep Time: 20 minutes
- Cook Time: 40 minutes
- Total Time: 1 hour
- Yield: Serves 4
- Category: Dessert
- Method: Baking
- Cuisine: American
Ingredients
- 4 medium-sized apples (Granny Smith or Honeycrisp)
- 1 tbsp lemon juice
- 8 oz cream cheese, softened
- 1/2 cup granulated sugar
- 1/4 cup brown sugar
- 1 tsp vanilla extract
- 1/2 tsp ground cinnamon
- 1/4 tsp salt
- 1/2 cup sour cream
- 1/2 cup crushed graham crackers
- 1/4 cup chopped nuts (optional)
- 1/4 cup caramel sauce (for drizzling)
Instructions
- Preheat your oven to 350°F (175°C).
- Wash and dry the apples, then remove the cores while leaving the bottoms intact. Drizzle lemon juice inside each apple to prevent browning.
- In a mixing bowl, beat cream cheese and granulated sugar until smooth. Add brown sugar, vanilla extract, sour cream, cinnamon, and salt; mix until combined. Fold in crushed graham crackers and nuts.
- Fill each apple with the cheesecake mixture using a spoon or piping bag.
- Place filled apples in a baking dish and cover with aluminum foil.
- Bake for 25-30 minutes until tender; remove foil and bake for another 10-15 minutes until lightly browned.
- Let cool slightly before serving with caramel drizzle.
Nutrition
- Serving Size: 1 stuffed apple (150g)
- Calories: 280
- Sugar: 30g
- Sodium: 200mg
- Fat: 12g
- Saturated Fat: 6g
- Unsaturated Fat: 4g
- Trans Fat: 0g
- Carbohydrates: 42g
- Fiber: 3g
- Protein: 3g
- Cholesterol: 30mg